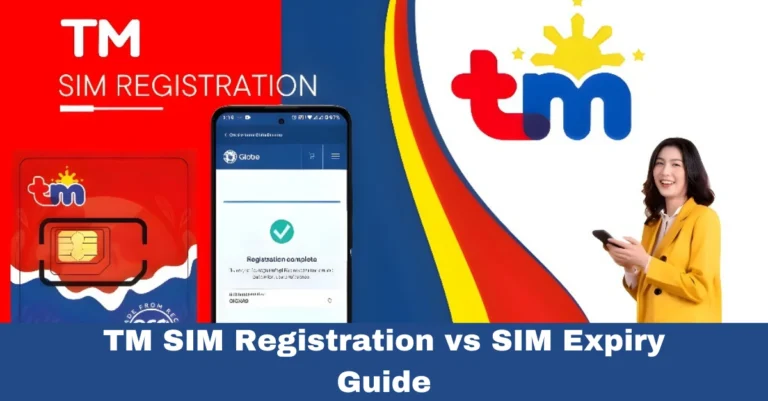
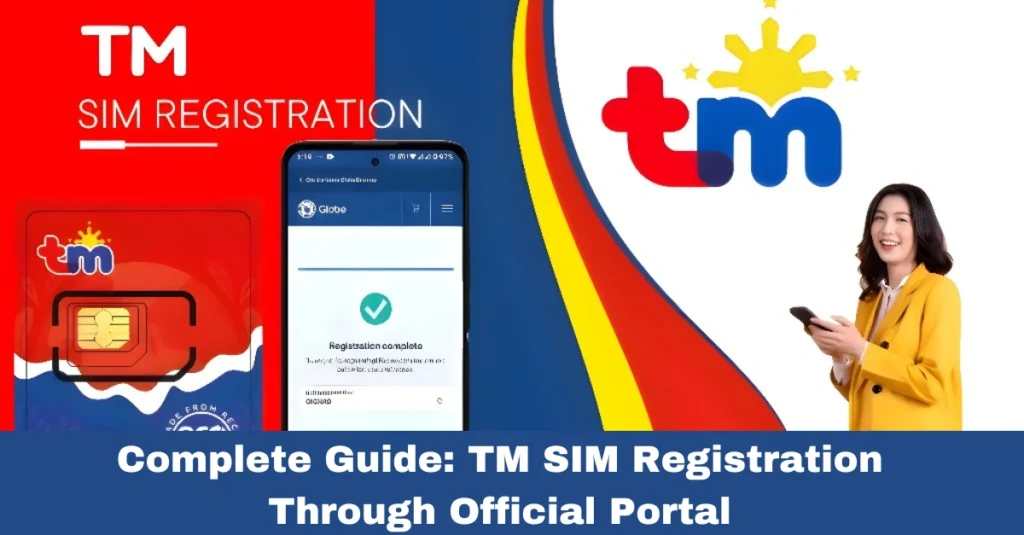
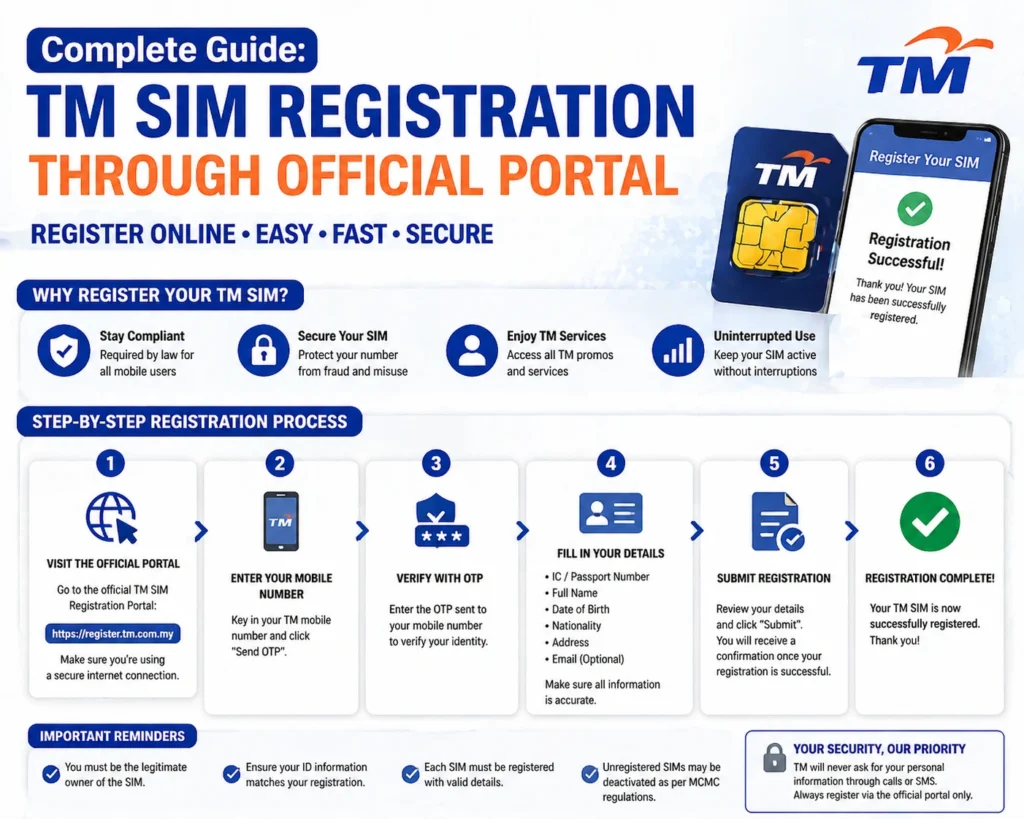
Complete Guide: TM SIM Registration Through Official Portal
If you’re using a TM SIM card, you must register it officially so your number stays active and protected. This registration links your SIM to your identity — and without it, your service could be blocked or disconnected.
Don’t worry — the process is easy, and I’ll walk you through it step by step!
Why You Should Register Your TM SIM
Before we start, here’s why it’s important to register:
What You’ll Need Before Registering
Make sure you have:
Your TM SIM card inserted in a phone
A valid ID (passport, national ID, driver’s license, etc.)
A stable internet connection
Your personal details ready (name, birthday, address)
How to Register Your TM SIM Through the Official Portal
Here’s the fastest way without visiting a store:
Step‑by‑Step Guide
That’s it — your SIM is registered! Most users finish in just a few minutes.
Other Ways to Register (If You Prefer)
You’re not limited to the portal:
Register via the GlobeOne App
Download the official app from your store
Log in or create an account
Tap “Register SIM” and follow the same steps above.
Register at a TM / Globe Store
If you want help in person, just bring your ID and SIM to the nearest store — they’ll complete it for you.You can also read: TM SIM Registration Reference Number Check – Easy Guide
What to Do If Registration Fails?
Don’t panic if something goes wrong during registration — follow these tips:
Verify your details
Make sure the personal information you entered matches your ID.
Clear cache & retry
If the website is loading slowly, clear your browser cache or try another browser.
Contact support
If the portal isn’t accepting your details, you can contact TM’s customer support for assistance
Quick Tips (So You Don’t Get Stuck)
FAQ’s
Final Words
Registering your TM SIM is not just required — it’s protective. It keeps your number safe, your services active, and your digital life smoother. Just follow the steps above, and you’ll be done in minutes!