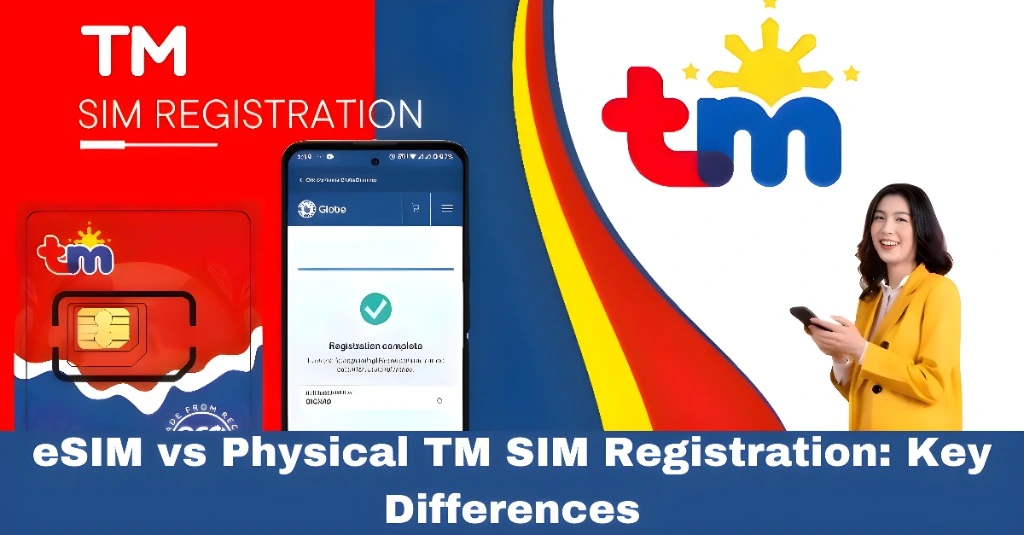
eSIM vs Physical TM SIM Registration: Key Differences
If you’re getting a TM SIM in the Philippines, you might see two options: an eSIM or a physical SIM card. Both let you make calls, send texts, and use data — but the way you register them can feel a bit different. I’ll explain the key differences in the easiest way possible, like I’m talking to a friend.
What Is an eSIM vs a Physical SIM?
Before we compare registration, let’s clear up what each one is:
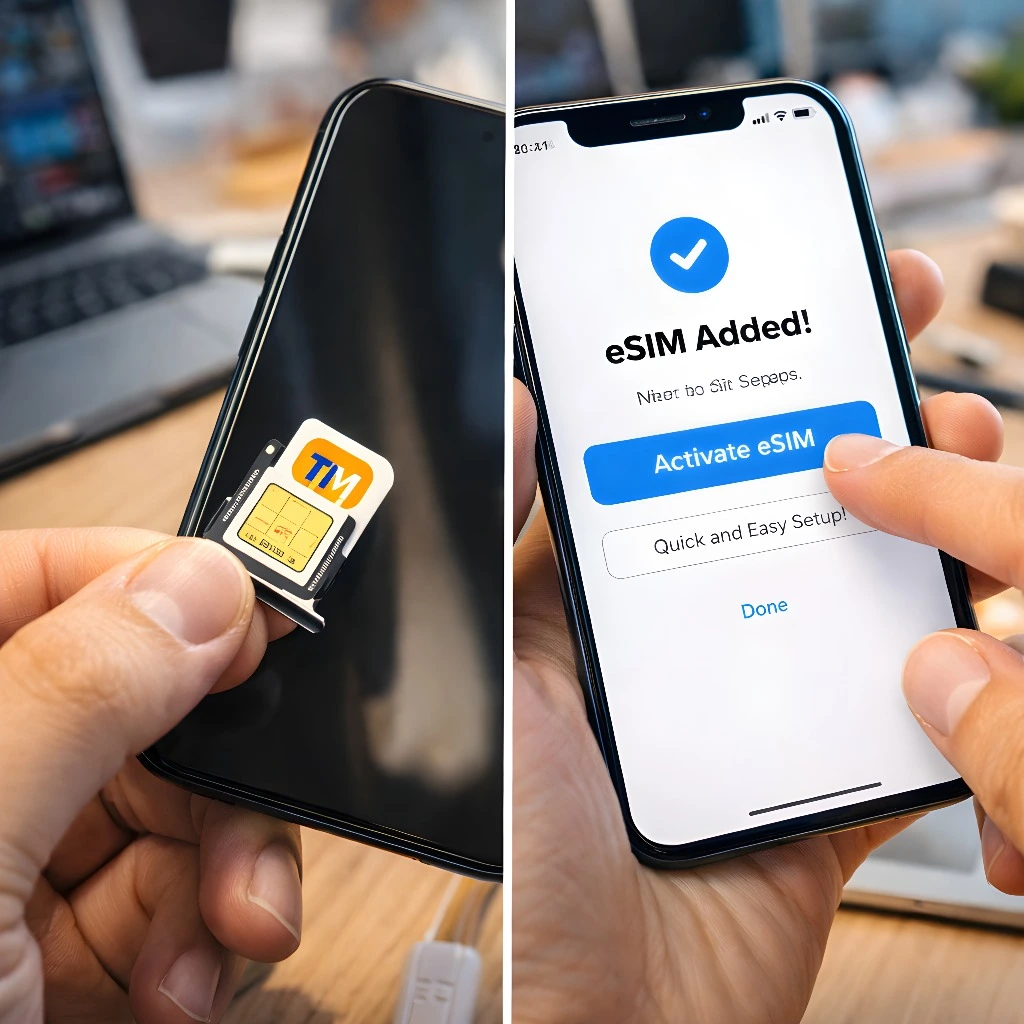
Physical SIM – A tiny plastic card you insert into your phone.
eSIM – A digital SIM built into your phone. No physical card needed.
Both serve the same purpose — connecting you to TM’s mobile network — but they work a little differently.
How You Get the SIM
Physical TM SIM:
You get this at a store or from a kiosk. It’s a small card that you physically insert into your phone
TM eSIM:
You request this online or in a TM/Globe store, and you get a QR code or digital activation instead of a card
Registration Process — What’s the Same
For both eSIM and physical SIM, you still need to:
The identity verification steps are the same because the law requires it.You can also read: How to Fix TM SIM Registration Link Not Working
Registration Differences
Here’s where things can feel a little different:
A. How You Activate the SIM Before Registration
So with eSIM, you do activation first, then registration — which is just one extra step compared to physical SIM.
Receiving OTP
Both versions still use SMS for the OTP.
But with an eSIM, your phone gets connected to the network as soon as the profile is installed, so you may receive the OTP faster.
With a physical SIM, you need good network signal on the slot where the SIM is inserted.
Device Compatibility
Not all phones support eSIMs yet.
So:
This doesn’t affect the registration law, it only affects whether your phone can use eSIM.
Why the Registration Looks Slightly Different
With eSIM, you activate the SIM digitally — so you might do the activation and registration steps back‑to‑back in the app or online.
With a physical SIM, you insert the card and then open the portal or app to register.
The good news? The identity requirements — your name, ID, selfie, OTP — are the same for both.
Tips for Smooth Registration
Here are some helpful tips so your registration goes through without problems:
What Happens After Registration
Once you finish all steps:
Your number becomes active
You can make calls, texts, and mobile data
You get access to TM promos and services
This is true whether you used eSIM or a physical SIM.
FAQ’s
Final Words
In short, both eSIM and physical SIM registration follow the same legal requirements — you still need to verify your identity, upload a valid ID, take a selfie, and enter an OTP. The main difference is how the SIM is activated. eSIM is digital and quick, while a physical SIM needs to be inserted into the phone.
Either way, once registration is done right, your TM number will be active and ready for use. If you want an easy step‑by‑step checklist you can follow on your phone, just let me know!