TM SIM Steps for First‑Time Users 2026 Complete Guide
If you just got a TM SIM card or you’re about to use one for the first time, you might be wondering: How do I register it? What steps are involved? Don’t worry, it’s easier than it sounds. In this friendly guide, I’ll walk you through every step so you can finish your TM SIM registration quickly and correctly.
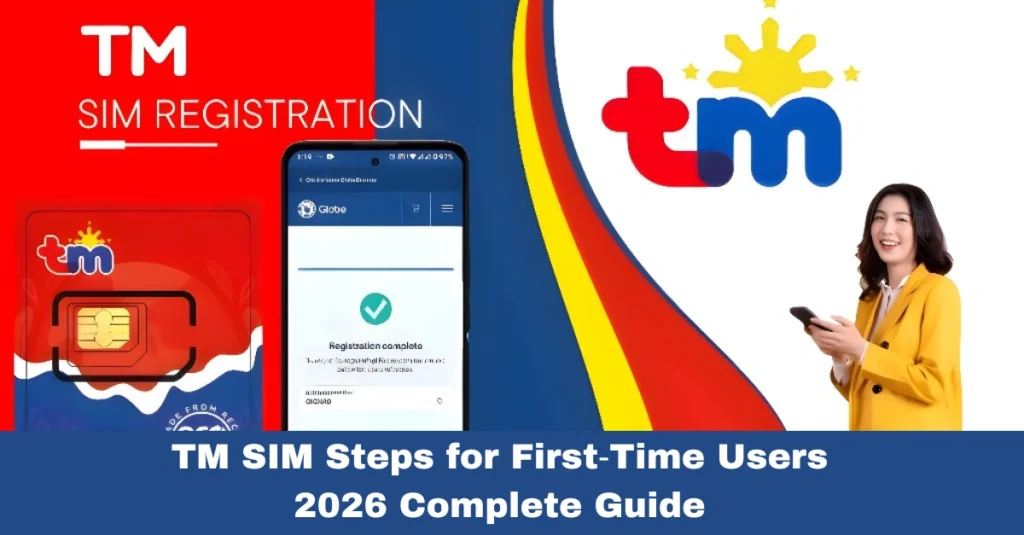
TM SIM registration is important. It’s required by the Philippines’ SIM Registration Act (Republic Act 11934) to keep your mobile number active, secure, and compliant with the law.
What You Need Before You Start
Before you begin, get these ready:
These make the process smooth, especially when the portal or app asks for photos and personal details.
Choose How You’ll Register
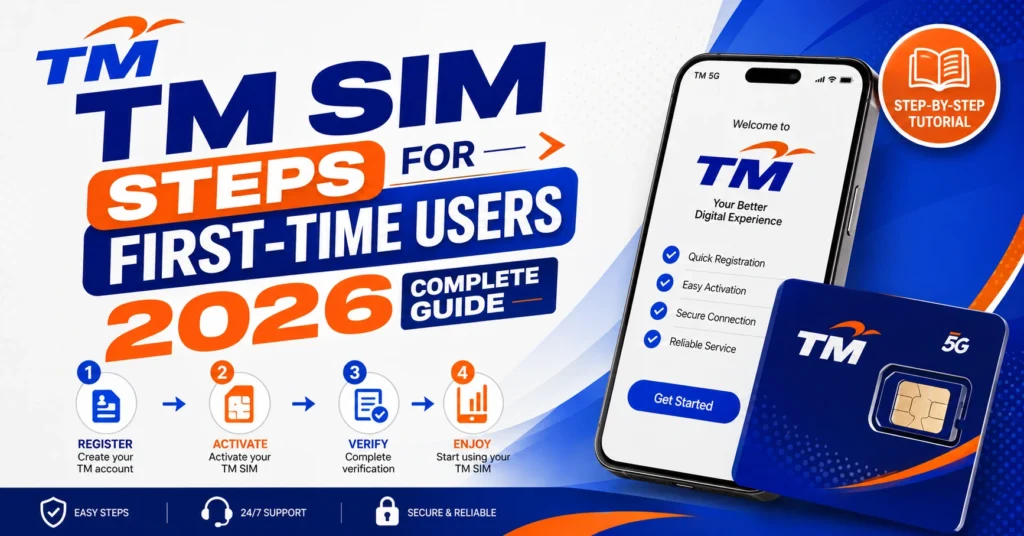
There are three official ways you can register your TM SIM: online through the portal, through the GlobeOne app, or in person at a Globe or TM store.
Online Portal – Fastest and works on any device.
GlobeOne App – Easy for smartphone users.
In‑Store – Best if you’re not comfortable online.
Register TM SIM Online (Portal Method)
If you choose the online portal (the most common method), here’s what to do:
Register Using the GlobeOne App
If you prefer the app method, here’s how it goes:
The app method is nice if you already use GlobeOne for promos or load purchases.You can also read: TM SIM Registration Using National ID (2026 Guide)
Register In‑Person at a TM/Globe Store
If you’re not comfortable with online steps or tech issues, you can visit a TM or Globe store and ask the staff to help you register.
Bring your TM SIM and your valid ID. They’ll enter your details and upload your ID and selfie for you. This usually takes longer than online but it’s helpful if you’re unsure about the process.
Common Issues and Easy Fixes
Sometimes the process can be confusing, especially when uploading photos or waiting for OTP codes:
Make sure your camera has good lighting for ID and selfie photos. Blurry pictures often get rejected.
Enter the OTP within the time limit or request a new one.
Use the official portal or GlobeOne app only. Fake sites can steal your info and won’t register your SIM properly.
If it still fails online, visiting a store is usually the quickest backup option.
What Happens After You Register
Once you finish and submit the registration form:
You should get a confirmation message on your phone.
Your TM SIM stays active for calls, texts, and internet.
Keep your reference number in case support needs it. If your SIM is not registered by deadline, it may be turned off.
FAQ’s
Final Words
TM SIM registration isn’t complicated if you know the steps. Choose the method that works best for you, follow the steps, and keep your mobile number safe and active. Having your valid ID, clear photos, and patience really helps make the process smooth.


