TM SIM Registration Photo Upload Error Fix Quick Solutions
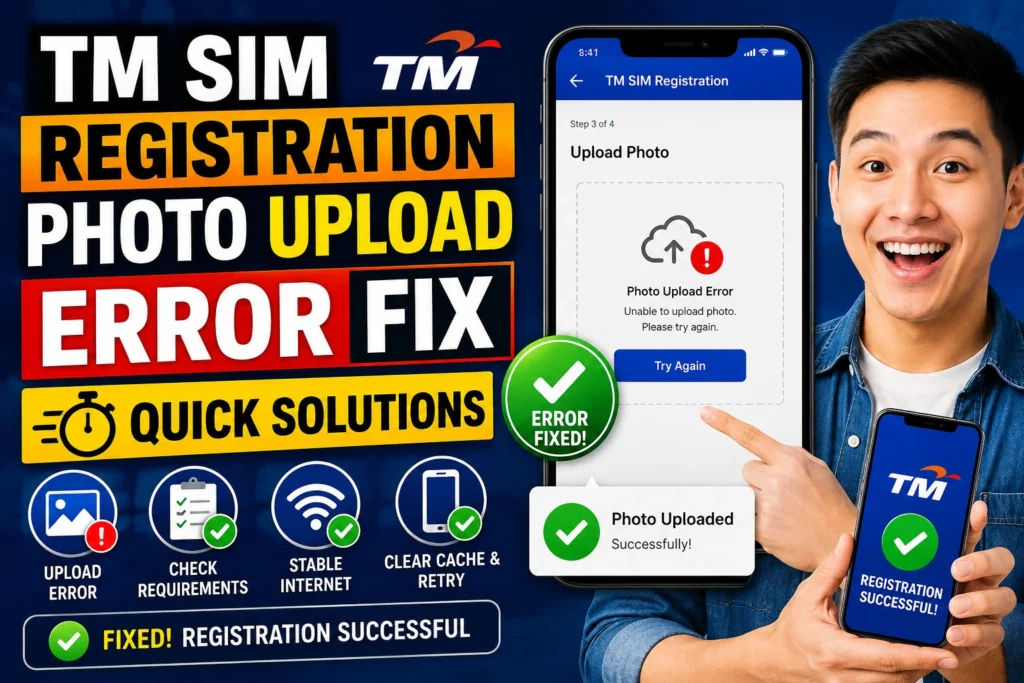
If you’re trying to register your TM SIM card and keep running into a photo upload error like “upload failed” or “selfie not accepted,” don’t worry. This happens to many people, and there are simple fixes. In this guide, I’ll walk you through why it happens and how to fix it step by step so you can finish registration fast and get your SIM working.
Why TM SIM Photo Upload Errors Happen
Here are the most common reasons:
Simple Steps to Fix the Photo Upload Error
1. Resize Your Photo Before Uploading
If your photo is too large:
Use the Right File Format
Make sure your photo is:
If it’s another format, convert it before uploading.
Take a Clear, Well-Lit Photo
Here’s how to get a photo that will be accepted:
Stand near a window or outside in daylight.
Avoid shadows or too much brightness.
Keep your face centered and look straight at the camera.
Remove sunglasses, masks, hats, or anything that hides your face.
Quick trick: Ask someone to take the photo for you — sometimes that’s clearer than a selfie.You can also read: How to Change Your Address on TM SIM Registration Easy Guide
Check Your Internet Connection
Photo upload errors often happen if the connection drops.
Switch between Wi-Fi and mobile data.
Move to a better signal spot.
Turn on airplane mode for 10 seconds, then off again.
Try a Different Browser or Device
If the upload keeps failing:
Tip: Clearing your browser’s cache and cookies can fix upload glitches too.
Photo Requirements Checklist
Before uploading, make sure your photo:
This checklist alone fixes most upload errors.
Common TM SIM Registration Mistakes to Avoid
Here are a few things people often miss:
Uploading screenshots of other photos instead of actual selfies
Using low-resolution or too dark images
Uploading multiple photos instead of just one
Forgetting to fill out other registration fields first
Avoiding these makes the process smoother.
Bonus Tips for a Faster TM SIM Registration
Help When You Can’t Fix the Upload Error
If nothing works:
FAQ’s
Final Words
Getting a photo upload error during your TM SIM registration can be frustrating but it’s usually easy to fix. Most errors happen because of file size, format, or photo quality. Just follow the steps above, check your internet connection, and try again.
Don’t rush the photo — a clear, well-lit image makes all the difference. And if everything still fails, support staff can help you finish registration in person.